The Honeywell TH8320U1008 is a VisionPRO series thermostat, offering a touch-screen interface and programmable functionality. Designed for compatibility with various heating and cooling systems, it ensures energy efficiency and precise temperature control. The thermostat is part of Honeywell’s advanced lineup, providing user-friendly operation and customizable settings to enhance home comfort. This guide covers installation, configuration, and maintenance to help users maximize its performance and convenience.
1.1 Overview of the VisionPRO Series
The VisionPRO series by Honeywell represents a line of advanced, user-friendly thermostats designed for energy efficiency and precise temperature control. The TH8320U1008, part of this series, offers a touch-screen interface and programmable functionality, catering to both residential and light commercial applications. Engineered for compatibility with various heating and cooling systems, the VisionPRO series emphasizes convenience, comfort, and cost savings. Its intuitive design and robust features make it a popular choice for modern HVAC systems, ensuring optimal performance and user satisfaction.
1.2 Key Features of the TH8320U1008 Model
The Honeywell TH8320U1008 boasts an 8.8-square-inch backlit touchscreen, enabling easy navigation and programming. It supports up to 3 heat and 2 cool stages, making it suitable for complex HVAC systems. The thermostat offers programmable schedules, energy efficiency modes, and smart home integration options. With optional battery backup, it ensures continuous operation during power outages. Its compatibility with both 24V AC and 750mV heating systems provides versatility for various installations. These features contribute to precise temperature control and enhanced user convenience.
System Requirements and Compatibility
The Honeywell TH8320U1008 is designed for 24V AC and 750mV heating systems, supporting up to 3 heat and 2 cool stages. It is compatible with conventional and heat pump systems, ensuring versatility for various HVAC setups. This thermostat is part of the VisionPRO series, engineered for energy efficiency and seamless integration with modern home systems.
2.1 Heating and Cooling System Compatibility
The Honeywell TH8320U1008 is compatible with 24V AC and 750mV heating systems, supporting up to 3 heat and 2 cool stages. It works with conventional, heat pump, and dual fuel systems, ensuring versatility. The thermostat also supports zoning systems for precise temperature control in different areas. Its universal design allows it to integrate seamlessly with most HVAC setups, making it a reliable choice for various home configurations. This compatibility ensures efficient performance across different heating and cooling requirements.
2.2 Voltage and Power Requirements
The Honeywell TH8320U1008 operates on 24V AC or 750mV systems, ensuring compatibility with most HVAC setups. It requires a common (C-wire) for reliable power supply, though some configurations may not need it. The thermostat can also function with optional batteries for backup power during outages. Proper voltage and power connections are critical for safe and efficient operation. Always disconnect power before installation to avoid electrical hazards and ensure system integrity.
Pre-Installation Steps
- Disconnect power to the HVAC system before starting installation.
- Gather necessary tools and materials as listed in the manual.
- Ensure the area is clean and clear of obstructions.
- Review the manual thoroughly to understand the process.
3.1 Safety Precautions
- Always disconnect power to the HVAC system before starting installation to prevent electrical shocks or injuries.
- Read the manual carefully and follow all instructions to ensure safe and proper installation.
- Ensure the area is clear of obstructions and well-ventilated during the process.
- Only a trained, experienced technician should perform the installation to avoid potential hazards.
- Handle the thermostat and wiring with care to prevent damage or electrical issues.
3.2 Tools and Materials Needed
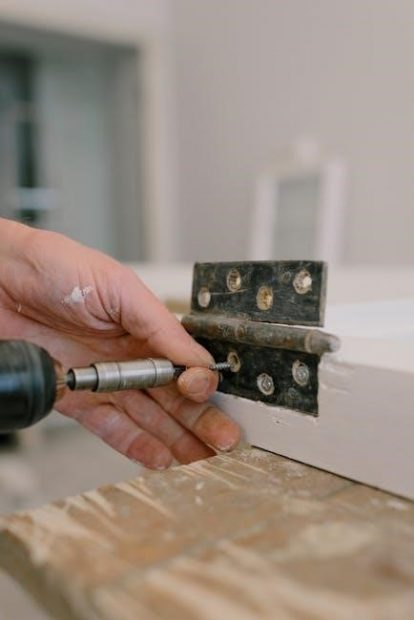
To install the Honeywell TH8320U1008 thermostat, you will need a screwdriver for removing the old thermostat and mounting the new one. Additional tools include wire strippers for preparing connections and a drill for potential wall repairs. Materials required may include mounting screws, wall anchors, and a jumper wire for specific system configurations. Ensure all necessary items are available before starting the installation process to avoid delays. Proper preparation ensures a smooth and efficient setup.
Installation Process
The installation begins with removing the old thermostat, followed by mounting the new Honeywell TH8320U1008. Proper wiring connections are essential, and final checks ensure system functionality.
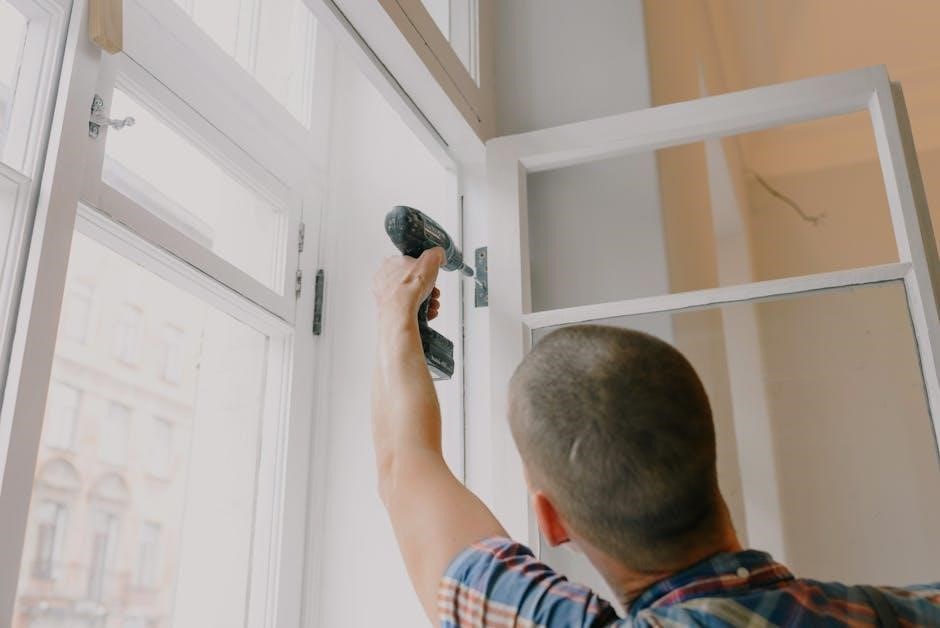
4.1 Removing the Old Thermostat
Begin by turning off the power to your HVAC system at the circuit breaker. Verify the power is off using a voltage tester. Gently pull the old thermostat away from the wall to access the wiring. If screws hold it in place, remove them carefully. Avoid damaging the wires or the wall. If the wires are not labeled, use masking tape and a marker to identify each wire’s function (e.g., R, W, Y, G, C). Once the old thermostat is removed, clean the area around the wall plate before proceeding with the new installation.
4.2 Mounting the New Thermostat
Peel the protective film from the thermostat’s touchscreen. Align the mounting holes on the Honeywell TH8320U1008 with those on the wallplate. Secure the thermostat using the provided screws, ensuring they are tightened firmly but not over-tightened. Use a level to confirm the thermostat is straight. Gently press the thermostat onto the wallplate until it clicks into place. Ensure the device is flush with the wall for a clean installation. Avoid touching the screen during mounting to prevent accidental activation.
4.3 Wiring Connections
Disconnect power before starting. Remove the factory-installed jumper if using a two-transformer system. Connect the wires to the appropriate terminals (R, W, Y, G, C, O/B) as per your system’s configuration. Ensure all connections are secure and match the labels from your old thermostat. If using a common wire, connect it to the C terminal. Batteries are optional for backup power if the thermostat is wired to AC. Double-check all wires are properly seated to avoid connectivity issues.
4.4 Final Installation Checks
After completing the wiring, restore power and test the thermostat. Ensure the display lights up and all buttons respond. Test heating and cooling stages to confirm proper operation. Verify the backlit screen is functional and adjust brightness if needed. Check for any error messages and address them by reviewing connections. If issues arise, revisit wiring to ensure correctness. Install fresh batteries if required for backup power. Finally, confirm the time and date are set correctly for programmable schedules to function accurately.

Configuring the Thermostat
Configure programmable schedules and adjust temperature settings for optimal performance. Set daily routines and customize comfort levels easily through the intuitive touch-screen interface.
5.1 Setting Up the Programmable Schedules
Programmable schedules allow you to customize temperature settings for different times of the day. Set up to four daily periods (wake, leave, return, sleep) to optimize comfort and energy use. Use the touch-screen interface to easily input preferences, ensuring consistent temperatures throughout the day. This feature helps reduce energy consumption by automating heating and cooling adjustments. Tailor schedules to match your lifestyle for enhanced efficiency and convenience.
5.2 Adjusting Temperature Settings
Adjusting temperature settings on the Honeywell TH8320U1008 is straightforward. Use the touch-screen interface to set desired temperatures for heating and cooling modes. The thermostat allows precise adjustments, ensuring comfort and energy efficiency. You can set temperature ranges between 40°F and 90°F (4°C and 32°C). Regularly review and modify settings to balance comfort and energy savings. This feature ensures your system operates efficiently, maintaining optimal indoor conditions year-round.

Advanced Features and Settings
The Honeywell TH8320U1008 offers advanced features like energy efficiency modes, smart home integration, and customizable settings to optimize comfort and energy savings. Explore these settings for enhanced control.
6.1 Energy Efficiency Modes
The Honeywell TH8320U1008 features energy-saving modes, including programmable schedules and smart recovery, which optimize heating and cooling usage. These modes help reduce energy consumption by learning your schedule and preferences, ensuring the system operates efficiently. The thermostat also offers an energy-saving mode that adjusts temperatures during off-peak hours, contributing to lower utility bills without compromising comfort. Utilizing these features effectively can significantly enhance energy efficiency and overall system performance.
6.2 Smart Home Integration Options
The Honeywell TH8320U1008 integrates seamlessly with smart home systems, enhancing convenience and control. It is compatible with popular platforms like Amazon Alexa and Google Home, allowing voice command functionality. Additionally, the thermostat can be paired with the Honeywell Home app, enabling remote temperature adjustments and scheduling. This smart integration ensures users can monitor and manage their home’s comfort settings from anywhere, optimizing energy usage and performance. These features make the thermostat a versatile and modern solution for smart home environments.
Troubleshooting Common Issues
Address common issues like display malfunctions or connectivity problems by checking power connections and restarting the thermostat. Consult the manual for detailed diagnostic steps and solutions.
7.1 Display Malfunction
If the display is not functioning properly, ensure the thermostat is powered on and check for loose wiring connections. Restart the device by disconnecting and reconnecting the power supply. If the issue persists, verify that the batteries (if applicable) are installed correctly and fresh. Clean the screen gently with a soft cloth to remove any debris. Consult the manual for additional troubleshooting steps, such as resetting the thermostat to factory settings or addressing potential software glitches.
7.2 Connectivity Problems
If experiencing connectivity issues, first ensure the thermostat is properly powered. Check wiring connections for damage or looseness, and verify that all terminals are correctly configured. Restart the device by disconnecting and reconnecting the power supply. If using smart features, ensure your Wi-Fi network is stable and the thermostat is connected to the correct network. Refer to the manual for troubleshooting steps, such as resetting the device or updating its software to resolve connectivity problems effectively.

Maintenance and Upkeep
Regularly clean the thermostat to ensure proper functionality. Check wiring connections for security and integrity. Replace batteries if applicable, and follow the manual’s maintenance schedule for optimal performance.
8.1 Cleaning the Thermostat
Regular cleaning ensures optimal performance and longevity of the Honeywell TH8320U1008 thermostat. Power off the device before cleaning to avoid damage. Gently wipe the touchscreen and exterior with a soft, dry cloth. Avoid harsh chemicals or liquids, as they may damage the screen or internal components. For stubborn marks, dampen the cloth slightly but ensure it is not soaking wet. Never spray cleaning solutions directly on the thermostat. Cleaning helps maintain responsiveness and prevents dust buildup that could interfere with functionality.
8.2 Battery Replacement
The Honeywell TH8320U1008 thermostat uses optional AA alkaline batteries for backup power. Replace batteries when the display indicates low power. Disconnect power before starting. Remove the old batteries from the compartment and insert fresh ones, ensuring correct polarity. Close the compartment and restore power. Proper battery replacement ensures continuous operation during power outages. Always refer to the user manual for specific instructions to avoid any installation issues.
The Honeywell TH8320U1008 thermostat offers efficient, user-friendly temperature control. By following the manual, users can ensure optimal performance, energy savings, and enhanced home comfort. Regular maintenance and proper setup are key to long-term satisfaction. This thermostat is a reliable choice for modern heating and cooling needs, providing advanced features and simplicity in one device.
9.1 Summary of Key Points
The Honeywell TH8320U1008 thermostat is a VisionPRO series model designed for efficient temperature control. It supports up to 3 Heat/2 Cool stages and features a touch-screen interface. Installation involves removing the old thermostat, mounting the new device, and connecting wires. Configuration includes setting programmable schedules and adjusting temperature settings. Maintenance requires cleaning and battery replacement. The manual provides detailed guidance for optimal performance, ensuring energy efficiency and user convenience. Proper setup and regular upkeep are essential for long-term functionality and satisfaction.
9.2 Final Tips for Optimal Performance
Regularly clean the thermostat screen to ensure accurate temperature readings. Replace batteries as needed to avoid power interruptions. Program schedules to align with your daily routine for energy efficiency. Use the energy-saving mode to reduce consumption. Ensure proper installation location, away from direct sunlight or drafts. Check wiring connections periodically for stability. Update settings seasonally to maintain comfort and performance. By following these tips, you’ll maximize the thermostat’s functionality and enjoy consistent, efficient heating and cooling throughout the year.