
Craftsman Radial Arm Saw Manual: A Comprehensive Guide
Navigating YouTube’s help resources reveals a wealth of tutorials and guides, mirroring the support needed for understanding your Craftsman saw’s operation.
Understanding Your Craftsman Radial Arm Saw
Your Craftsman radial arm saw is a powerful tool designed for accurate and efficient cutting of various materials, but mastering its operation requires familiarity. Like navigating YouTube’s extensive help center, understanding each component is crucial.
This saw utilizes a circular blade mounted on a head that moves along a radial arm. The arm pivots, allowing for miter cuts, while the blade tilts for bevels.
Successful operation hinges on recognizing how these movements interact, similar to following a step-by-step YouTube tutorial. Familiarize yourself with the locking mechanisms, table adjustments, and safety features before attempting any cuts. Proper understanding ensures both precision and safety, mirroring the detailed guidance available online.
Safety First: Essential Precautions
Operating a Craftsman radial arm saw demands strict adherence to safety protocols, much like carefully following instructions from YouTube’s official help center. Always wear safety glasses and a dust mask to protect your eyes and lungs.
Ensure the workpiece is securely clamped to prevent movement during cutting. Never reach over the blade or position your hands in the path of the cut.
Disconnect the power cord before making adjustments or changing the blade. Be mindful of potential kickback, a forceful ejection of the workpiece, and maintain a firm grip. Prioritize safety; a well-informed operator, like one utilizing YouTube’s resources, is a safe operator.
Key Components and Their Functions
Similar to understanding the features detailed in YouTube’s tutorial videos, knowing your saw’s parts is crucial. The saw head houses the motor and blade, moving along the radial arm. This arm pivots, enabling miter cuts, and locks securely into position.
The table supports the workpiece and features a miter box for angle adjustments. The blade guard protects the operator, while the depth and bevel controls adjust cutting parameters. Familiarity with each component, akin to navigating YouTube’s interface, ensures efficient and safe operation. Each part works in harmony for precise cuts.

The Saw Head and Its Movement
Much like following a step-by-step YouTube tutorial, understanding the saw head’s movement is fundamental. It contains the motor, blade, and associated controls, gliding along the radial arm. This movement allows for crosscutting, and the head can be raised or lowered to adjust cutting depth.
The head also pivots for bevel cuts, offering versatility. Secure locking mechanisms maintain position during operation. Smooth, controlled movement is vital for accuracy, mirroring the clarity found in helpful online guides. Regular inspection ensures optimal performance and safety.
The Radial Arm and Locking Mechanism
The radial arm, a crucial component, dictates the saw head’s reach and cutting capacity, similar to navigating YouTube’s extensive video library. It pivots on a central point, enabling crosscuts at various angles. A robust locking mechanism secures the arm at the desired position, preventing unwanted movement during operation.
This lock is paramount for safety and precision, akin to a reliable Google Account sign-in. Regularly check for tightness and proper function. Understanding this system, as with YouTube’s help center, is key to safe and accurate sawing.
The Table and Miter Box
The table provides a stable surface for supporting the workpiece, much like YouTube’s platform supports content creators. Integrated within the table is the miter box, allowing for precise angled cuts; This box features pre-set detents for common angles – 45 and 90 degrees – simplifying setup, similar to YouTube’s curated playlists.
Loosen the locking handle to adjust to custom angles. Ensure the table surface is clean and free of debris for smooth material movement, mirroring the need for a clear YouTube viewing experience.
Manual Location and Download Resources
Finding your Craftsman radial arm saw manual mirrors navigating YouTube’s Help Center – a central hub for information. Often, original manuals are lost, but digital copies are readily available online. Websites specializing in vintage tool manuals frequently host downloadable PDFs.
Searching by the saw’s model number is crucial for accuracy, akin to using specific keywords on YouTube. Explore forums dedicated to Craftsman tools; users often share scanned manuals or direct download links. Remember to verify the source’s reliability before downloading, just as you’d assess a YouTube tutorial’s credibility.
Troubleshooting Common Issues
Like diagnosing problems using YouTube’s troubleshooting guides, resolving radial arm saw issues requires a systematic approach. A motor that won’t start often points to electrical issues – check the power cord and switch, mirroring a YouTube video on appliance repair. Blade wobble suggests a loose arbor nut or damaged bearings.
Difficulty adjusting the miter can stem from a stripped locking mechanism. Referencing online forums, similar to YouTube’s comment sections, can provide solutions from experienced users. Always disconnect power before inspecting or repairing any component, prioritizing safety as emphasized in YouTube’s safety tutorials.
Motor Not Starting
If your Craftsman radial arm saw’s motor fails to start, begin with the basics, much like following a YouTube troubleshooting checklist. First, verify the power cord is securely plugged into a working outlet. Next, inspect the switch for any visible damage or looseness – a common issue addressed in appliance repair videos.
Check the circuit breaker or fuse box for a tripped breaker or blown fuse. If these are fine, the motor itself may be faulty, requiring professional repair. Remember, safety first – always disconnect power before any inspection, echoing YouTube’s safety guidelines.
Blade Wobbling or Runout
Blade wobble or runout on your Craftsman radial arm saw compromises cut accuracy and safety, similar to issues highlighted in online repair tutorials. First, ensure the blade is properly secured with the correct washer and nut, tightened to the manufacturer’s specifications.
Inspect the arbor for damage or debris. A worn arbor bearing can also cause wobble, necessitating replacement. Check the radial arm’s smoothness of travel; binding can transmit vibrations. Refer to YouTube’s detailed guides on blade mounting and bearing inspection for visual assistance, prioritizing a stable cutting platform.
Difficulty with Miter Adjustments
If your Craftsman radial arm saw’s miter adjustments are stiff or inaccurate, begin by inspecting the miter scale and locking mechanism for obstructions, much like troubleshooting steps found in online help centers. Ensure the locking lever fully engages, securing the desired angle;
Lubricate the miter track and pivot points with a suitable lubricant. A worn miter gear or damaged scale can also cause issues, potentially requiring replacement. Consult YouTube’s instructional videos for detailed demonstrations on miter scale calibration and component inspection, ensuring precise angled cuts.
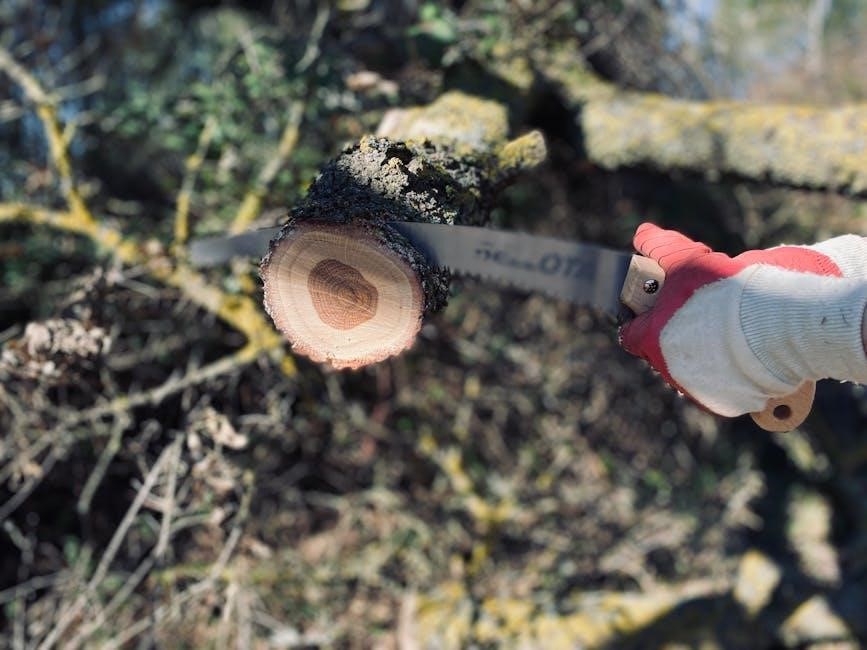
Blade Selection and Installation
Choosing the correct blade is crucial for optimal performance, mirroring the guidance available through online resources like YouTube’s help center. Select blades specifically designed for radial arm saws, considering tooth count based on the material being cut.
Installation requires disconnecting power and carefully securing the blade with the appropriate washer and nut. Ensure proper blade rotation direction. Regularly inspect blades for sharpness and damage, referencing instructional videos for safe removal and installation techniques. A dull or damaged blade compromises cut quality and safety.
Proper Saw Setup for Accurate Cuts
Achieving precision demands meticulous setup, much like following a detailed tutorial from YouTube’s extensive library. Begin by verifying the table’s squareness to the blade, utilizing a speed square. Adjust blade height to slightly exceed the workpiece thickness.
Lock the radial arm securely before adjustments. Precise miter and bevel settings are vital; double-check angles before each cut. Regularly calibrate these settings, referencing online guides for optimal accuracy. A stable setup minimizes errors and ensures clean, professional results, echoing the clarity found in online help centers.
Adjusting the Blade Height and Angle
Blade height adjustment, similar to navigating YouTube’s video settings, is crucial for efficient cutting. Loosen the blade height lock and raise or lower the saw head to the desired level, ensuring it clears the workpiece. Securely tighten the lock.
For angle adjustments, unlock the bevel mechanism and tilt the saw head to the required degree, referencing the scale. Lock firmly. Precise angle settings, like finding the right YouTube video, are paramount for accurate miter and bevel cuts. Regularly check and recalibrate for consistent results.
Setting the Miter and Bevel
Much like selecting a specific video on YouTube, precise miter and bevel settings are vital. Unlock the miter box and rotate the table to the desired angle, utilizing the detents for common cuts. Securely lock the miter box.
For bevel cuts, unlock the bevel mechanism and tilt the saw head, referencing the angle indicator. Lock firmly. Consistent accuracy, akin to a reliable YouTube channel, requires regular calibration. Double-check settings before each cut to avoid errors and ensure professional-quality results.
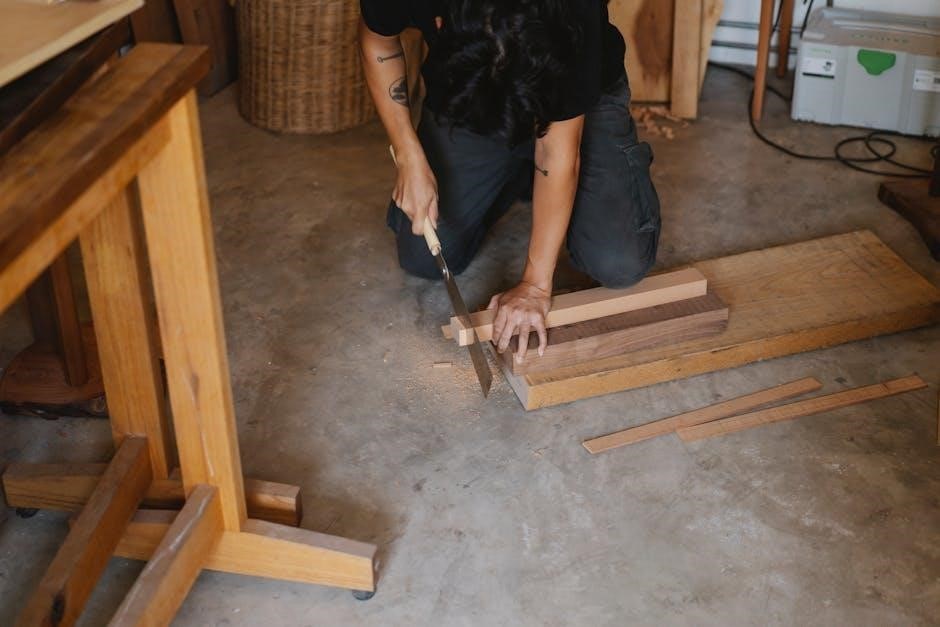
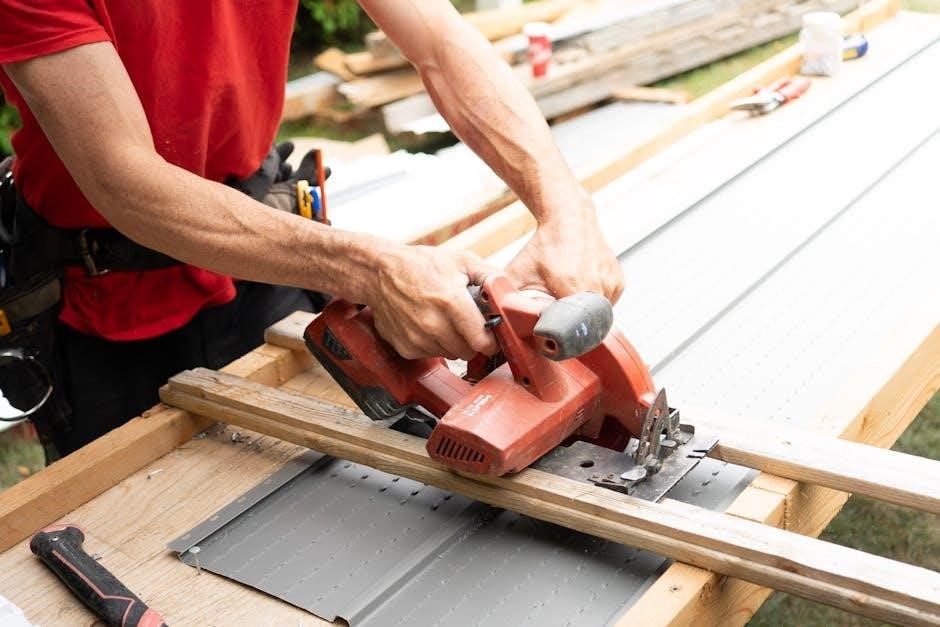
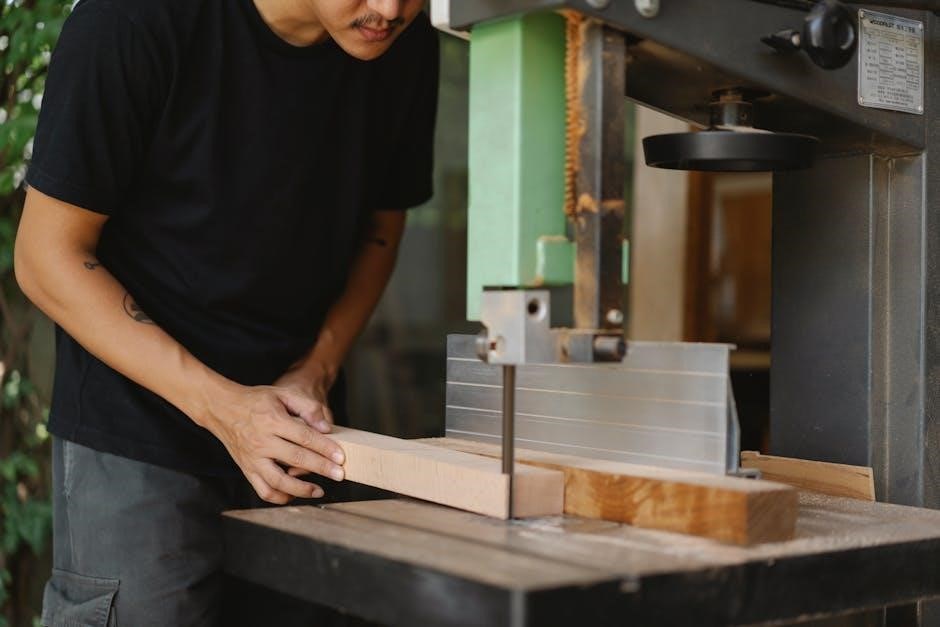
Cutting Techniques: A Step-by-Step Approach
Similar to following a YouTube tutorial, a methodical approach is key. First, securely clamp the workpiece. Engage the radial arm and smoothly pull the saw through the material, maintaining consistent pressure.
For miter cuts, ensure the table is locked at the correct angle. Bevel cuts require the head to be tilted and locked. Always complete the cut with a controlled motion, avoiding sudden stops. Remember safety features, just as YouTube emphasizes responsible viewing, are crucial for accurate and safe operation.
Crosscutting with the Radial Arm Saw
Much like navigating YouTube’s video library, crosscutting demands precision. Securely position the workpiece against the fence, ensuring it’s firmly clamped. Unlock the radial arm, aligning the blade with the desired cut line.
Slowly and steadily pull the saw through the wood, maintaining a consistent feed rate. Avoid forcing the blade; let it do the work. Remember to keep your hands clear of the blade’s path, mirroring YouTube’s safety reminders. A smooth, controlled motion yields accurate results, just like a well-edited tutorial.

Miter Cuts for Angles
Achieving accurate miter cuts, similar to finding specific tutorials on YouTube, requires careful setup. Unlock the miter box and rotate it to the desired angle, securing it firmly in place. Double-check the angle using a protractor or angle finder – accuracy is key, much like YouTube’s detailed instructions.
Ensure the blade is aligned with the mitered edge of the workpiece before initiating the cut. Maintain a steady feed rate, allowing the blade to cleanly slice through the material. Remember safety, just as YouTube emphasizes, and keep hands clear.
Bevel Cuts for Compound Angles
Compound bevel cuts, like navigating YouTube’s diverse content, demand precision. Tilt the saw head to the desired bevel angle, securing it tightly. Simultaneously adjust the miter box for the corresponding angle, mirroring YouTube’s step-by-step guides.
Verify both angles before cutting, ensuring alignment with your workpiece. A smooth, controlled feed rate is crucial for clean results, akin to a well-produced YouTube tutorial. Prioritize safety – maintain a firm grip and keep hands away from the blade path, echoing YouTube’s safety reminders.
Maintenance and Lubrication
Regular maintenance, much like keeping YouTube’s platform running smoothly, is vital for your Craftsman radial arm saw. Periodically inspect and clean all moving parts, removing sawdust and debris. Lubricate the radial arm, saw head bearings, and elevation mechanism with appropriate oil or grease – consult your manual for specifics.
Check belt tension and alignment, mirroring YouTube’s quality control. A well-maintained saw ensures accurate cuts and extends its lifespan. Remember safety – disconnect power before any maintenance, similar to YouTube’s content guidelines.
Belt Replacement Procedures
Replacing the belt, akin to updating YouTube’s streaming infrastructure, requires careful steps. First, disconnect the power! Access the belt housing, often located beneath the saw table. Note the belt routing before removal – a visual guide is helpful, like YouTube tutorials.
Remove the old belt, clean the pulleys, and install the new one, ensuring proper tension. Misalignment causes slippage and wear, mirroring buffering issues on YouTube. Reassemble the housing and test the saw. Always use the correct belt specification for optimal performance and safety.
Identifying Your Saw Model Number
Just as understanding your YouTube account settings personalizes your experience, knowing your Craftsman saw’s model number is crucial for accurate parts and manual access. Typically, a metal plate is affixed to the saw’s body, often near the motor or base.
This plate contains the model number, serial number, and sometimes the manufacturing date. Referencing this number when searching for manuals – similar to navigating YouTube’s help center – ensures you receive the correct documentation. Accurate identification streamlines repairs and maintenance, maximizing your saw’s lifespan.
Finding Replacement Parts
Locating replacement parts for your Craftsman radial arm saw mirrors the process of finding helpful YouTube videos – a focused search is key. Once you’ve identified your model number, several online retailers specialize in vintage tool parts.
Websites dedicated to Craftsman tools often have exploded diagrams, similar to YouTube’s visual tutorials, aiding in part identification. Don’t overlook auction sites; they can be a source for discontinued components. Remember to verify compatibility before purchasing, ensuring a proper fit and function, just as you’d check a video’s relevance.
Understanding the Electrical System
Like navigating YouTube’s diverse content, understanding your Craftsman radial arm saw’s electrical system requires careful attention. The system typically involves a motor, switch, and wiring harness. Before any electrical work, always disconnect the power.
Familiarize yourself with the wiring diagram – akin to a YouTube tutorial’s step-by-step guide – to trace connections. Inspect wiring for damage, and replace frayed or cracked insulation. If unsure, consult a qualified electrician; safety is paramount, mirroring YouTube’s community guidelines.
Wiring Diagrams and Schematics
Just as YouTube utilizes schematics for its platform’s infrastructure, your Craftsman radial arm saw relies on wiring diagrams. These schematics are essential for troubleshooting and repair, illustrating the connections between the motor, switch, and other electrical components.
Locate the diagram – often found inside the saw’s housing or in the manual – and understand its symbols. Treat it like a YouTube tutorial; follow the lines carefully. Incorrect wiring can lead to malfunctions or safety hazards. If the original is missing, search online resources, mirroring YouTube’s vast library.
Common Craftsman Radial Arm Saw Models
Similar to how YouTube hosts diverse video content, Craftsman produced several radial arm saw models over the years. Popular versions include the 12-inch 345.233410, known for its robust build, and the earlier 9-inch models favored for lighter tasks.
Identifying your specific model is crucial for finding the correct parts and manuals – akin to searching YouTube for a specific tutorial. Variations exist in motor size, table features, and safety mechanisms. Knowing your model number unlocks access to targeted repair information and ensures compatibility when replacing components.
Historical Overview of Craftsman Radial Arm Saws
Craftsman radial arm saws emerged as a staple in American workshops during the mid-20th century, mirroring YouTube’s later rise as a central online resource. Initially, these saws offered a powerful, versatile cutting solution for home and professional woodworkers.
Early models, like those from the 1950s and 60s, prioritized durability and simplicity. Later iterations incorporated features like improved dust collection and more precise miter adjustments. Throughout their production run, Craftsman consistently aimed to provide reliable tools, much like YouTube’s commitment to accessible information.
Resources for Repair and Restoration
Finding assistance for your Craftsman radial arm saw echoes the support available on platforms like YouTube. Online forums dedicated to vintage tools often host detailed discussions, parts sourcing, and repair guides. Websites specializing in Craftsman parts provide replacements for worn components, ensuring longevity.
Furthermore, numerous YouTube channels demonstrate restoration techniques, mirroring the platform’s tutorial-rich environment. Manuals, schematics, and wiring diagrams are frequently shared within these communities, empowering owners to tackle repairs independently, much like utilizing YouTube’s help center.
Safety Features Explained
Like the comprehensive guidance offered on YouTube’s official Help Center, understanding your Craftsman radial arm saw’s safety features is paramount. Key components include the blade guard, designed to shield the operator from accidental contact, and the locking mechanisms securing the arm and head.
The trigger switch, often requiring deliberate action, prevents unintentional starts. Familiarize yourself with these features, mirroring the careful approach advocated in YouTube’s safety tutorials. Proper operation, combined with awareness, minimizes risk and ensures a safe cutting experience, just as YouTube emphasizes safe content practices.

Dealing with Kickback
Kickback, a sudden and forceful return of the workpiece, is a serious hazard with radial arm saws. Similar to navigating unexpected issues highlighted in YouTube’s troubleshooting guides, understanding kickback causes is crucial. It often stems from pinching the blade, improper feeding, or a dull blade;
Maintain a firm grip, stand to the side, and never reach across the blade’s path. Ensure the workpiece is securely supported. Like YouTube’s emphasis on responsible usage, prioritize safe practices. Recognizing warning signs and reacting swiftly can prevent injury, mirroring the proactive approach to online safety.
Dust Collection System Integration
Effective dust control is vital when operating a Craftsman radial arm saw, much like maintaining a clear online experience as YouTube suggests. Integrating a dust collection system minimizes airborne particles, improving visibility and respiratory health.
Many models feature a dust port compatible with standard shop vacuums. Ensure a secure connection to maximize suction. Consider upgrading to a dedicated dust collector for superior performance. Regularly clean the system to prevent clogging, mirroring YouTube’s advice for app maintenance. A clean workspace promotes safety and efficiency, enhancing the overall cutting experience.
Advanced Cutting Techniques
Mastering your Craftsman radial arm saw extends beyond basic cuts, much like exploring YouTube’s diverse content. Techniques like dadoing, rabbeting, and creating complex miters demand precision and control. Utilize specialized blades designed for these applications.
Practice smooth, consistent feed rates to avoid tear-out and ensure clean edges. Employ featherboards and hold-downs for enhanced workpiece stability, akin to YouTube’s guidance for secure app usage. Experiment with different blade speeds and settings to optimize results for various materials. Careful planning and execution unlock the saw’s full potential.